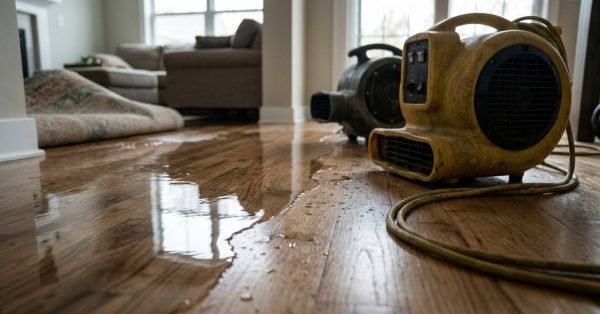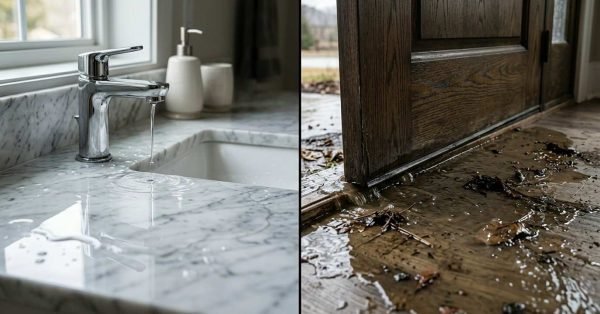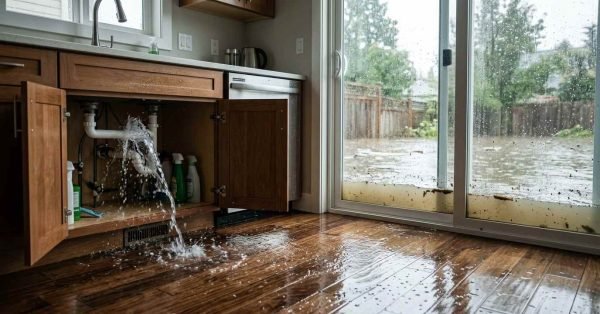
A water damage inspection is a systematic evaluation of a property to identify the source, extent, and category of water intrusion before restoration begins. I’ve walked hundreds of homeowners and business owners through this exact process, and the inspection stage is where every good restoration outcome actually starts. Skip it or rush it, and problems hide behind walls for months.
Water finds the path of least resistance, and it rarely stays where you first see it. A slow leak behind a wall or under a subfloor can sit undetected for weeks, feeding mold growth and weakening structural materials the whole time. Getting the assessment right the first time protects your property and your budget.
I’ll walk you through what a professional inspection covers, from the signs that tell you one is needed and the classification systems inspectors use, all the way through the room-by-room assessment process. We’ll also get into how residential and commercial inspections differ, what tools professionals rely on, and what happens once your inspection report is in hand.
What a Water Damage Inspection Covers
A water damage inspection identifies moisture location, source, and severity before any restoration work begins. It’s the diagnostic step that shapes everything that happens after it.
Core Objectives of the Inspection
I approach every inspection with three goals: find the source, measure the spread, and assess the risk. Locating the source stops ongoing damage. Measuring spread tells me how far moisture traveled into materials that aren’t visibly wet.
Risk assessment covers structural integrity and mold potential. Missing any one of these three objectives leads to incomplete restoration plans and repeat problems down the line.
Who Should Perform It
Certified restoration technicians trained in moisture detection and IICRC standards should perform water damage inspections. A certified water damage inspector is a trained restoration professional who uses specialized equipment to locate and measure moisture intrusion inside building materials.
DIY assessments miss hidden moisture almost every time. I’ve seen homeowners dry visible water and call it done, only to find soft drywall and mold three weeks later.
Signs You Need a Water Damage Inspection
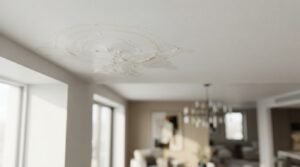
Some water damage signals are obvious. Others hide in places you won’t check without knowing what to look for.
Visible Warning Signs
Water stains on ceilings or walls, warped flooring, and peeling paint all point to moisture problems. Bubbling paint or wallpaper usually means water is trapped behind the surface.
A musty odor is one of the most reliable early indicators I encounter. It shows up before visible staining does most of the time.
Hidden and Delayed Signs
Soft spots in flooring, unexplained spikes in water bills, and condensation on windows can all indicate hidden moisture. These signs get dismissed constantly because they don’t look dramatic.
Increased humidity in one room compared to the rest of the house is another signal worth taking seriously. I always tell property owners that subtle signs deserve fast attention, not a wait-and-see approach.
Water Damage Categories and Classes Explained
Restoration professionals classify water damage using two systems: category (contamination level) and class (extent of damage). Understanding both helps you gauge the scope of what you’re dealing with.
Category 1, 2, and 3 Water
Category 1 water comes from a clean source, like a supply line break. Category 2, called gray water, contains contaminants from sources like dishwasher or washing machine discharge.
Category 3 is black water, meaning sewage backups or floodwater carrying pathogens and hazardous material. According to the Institute of Inspection, Cleaning and Restoration Certification (IICRC) S500 Standard, Category 3 water requires specialized personal protective equipment and containment procedures due to contamination risk. The Category determines the safety protocols and disposal requirements for the entire job.
Class 1 Through Class 4 Damage
Class 1 involves minimal absorption and affects a small area. Class 4 involves deeply saturated materials like hardwood, plaster, or concrete requiring specialized drying methods over extended timelines.
The class rating drives the drying equipment count and the projected timeline. A Class 4 job takes considerably longer than a Class 1 job, even with identical square footage.
Step-by-Step Water Damage Assessment Process
A professional assessment follows a structured sequence designed to catch damage that a casual walkthrough misses. I never skip steps, even on jobs that look straightforward at first glance.
Initial Safety Check and Source Identification
Every inspection starts with a safety sweep for electrical hazards, structural instability, and contamination risk. Finding and stopping the water source comes immediately after, because continued water flow undermines every subsequent step.
I check shutoff valves, appliance connections, and roofing or foundation entry points depending on the damage pattern. Source identification also informs the category classification I mentioned earlier.
Moisture Mapping and Detection Tools
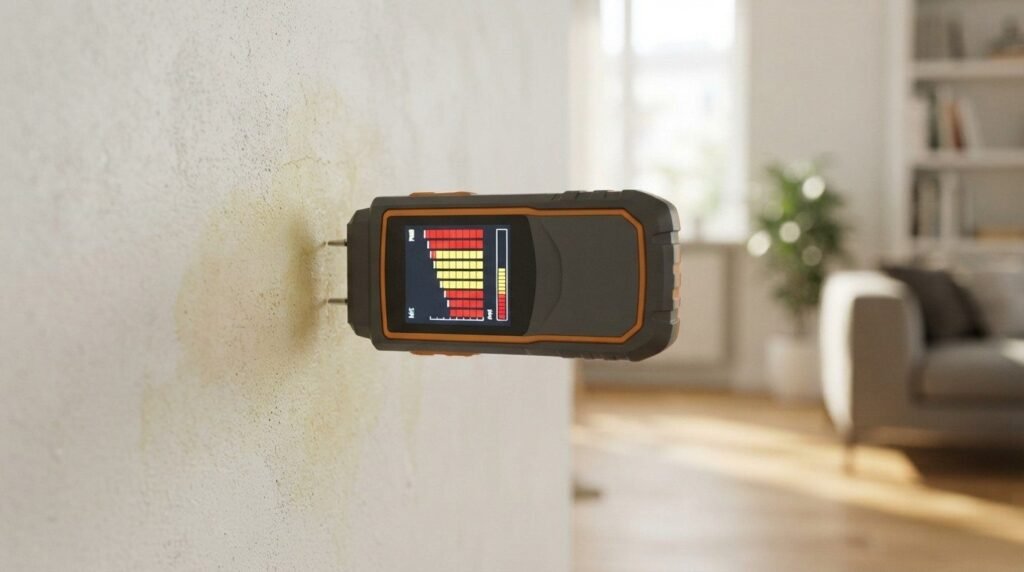
Moisture mapping uses meters and thermal imaging to trace water migration through walls, floors, and ceilings. This step reveals moisture that’s completely invisible to the naked eye.
I mark affected zones on a floor plan sketch as I go, which becomes part of the documentation package. Moisture readings taken at this stage also establish the baseline for tracking drying progress.
Documentation and Photo Evidence
Thorough documentation includes photographs, moisture readings, and written notes describing damage extent and probable cause. This record supports the restoration plan and becomes critical if an insurance claim gets filed.
I document before touching anything. Insurance adjusters and restoration crews both rely on this initial record, so accuracy here matters more than speed.
Structural and Material Damage Evaluation
Water damage doesn’t stop at the surface. Structural evaluation determines whether materials can be dried and saved or need removal and replacement.
Flooring, Drywall, and Framing Checks
Drywall absorbs water quickly and often needs to be cut and removed once saturation passes a certain point. Flooring materials react differently: solid hardwood might be salvageable with controlled drying, while engineered flooring often can’t be saved.
Framing and subfloor checks matter most in Class 3 and Class 4 situations. I probe suspect framing with a moisture meter rather than guessing from appearance alone.
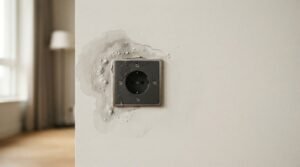
Electrical and HVAC System Risks
Standing water near electrical outlets, panels, or wiring creates a serious shock and fire hazard that needs immediate attention. HVAC systems that pulled in moisture during the event can spread contaminated air throughout the property if left running.
I always recommend a licensed electrician inspect any system that had direct water contact. This isn’t a step to shortcut, even under time pressure.
Mold Risk Assessment During Inspection
Mold assessment runs alongside every water damage inspection because the two problems are directly connected. Catching mold risk early changes the entire remediation scope.
Timeline for Mold Growth
The Environmental Protection Agency (EPA) states that mold can begin growing within 24 to 48 hours of water exposure under the right temperature and humidity conditions. That window is exactly why fast inspection and response matter so much.
Waiting even a few extra days past that window measurably increases remediation scope and cost. I treat that 48-hour mark as a hard deadline in every assessment I perform.
Early Mold Indicators
A musty smell, discoloration on drywall or wood, and visible fuzzy growth all signal active mold colonization. Early indicators are sometimes subtle enough that only trained inspectors catch them during a walkthrough.
I check behind baseboards, under carpet padding, and inside wall cavities near the moisture source specifically. These are the spots homeowners consistently miss during their own inspection.
Residential vs Commercial Inspection Differences
Residential and commercial water damage inspections share a foundation but diverge significantly in scope, urgency, and documentation requirements.

Scope and Scale Variations
Commercial inspections often cover larger square footage, multiple floors, or specialized equipment like server rooms and industrial machinery. Residential inspections focus on living spaces, personal belongings, and a smaller footprint overall.
I approach a commercial site with a room-by-room zone strategy rather than a single continuous walkthrough. Scale alone changes how the entire inspection gets structured.
Compliance and Business Continuity Factors
Commercial properties frequently carry regulatory compliance requirements tied to health codes, tenant leases, or industry-specific standards. Business continuity planning also factors into commercial inspections in ways residential jobs simply don’t require.
A restaurant kitchen or medical facility needs a different urgency level than an empty office suite. I factor operational downtime directly into how I prioritize the assessment sequence.
Inspection Tools and Equipment Used by Professionals

Professional inspections rely on specialized equipment that goes well beyond a visual walkthrough. These tools are what separate an accurate assessment from a guess.
Moisture Meters and Thermal Imaging
Moisture meters measure the actual water content inside building materials using pin or pinless technology. Thermal imaging cameras detect temperature differences that indicate moisture presence behind walls and ceilings without any invasive testing.
I use both together because they confirm each other’s readings. Thermal imaging spots the anomaly, and the moisture meter verifies it.
Hygrometers and Borescopes
Hygrometers measure ambient humidity levels in a room, which helps track drying conditions over time. Borescopes let inspectors see inside wall cavities or under flooring without cutting large access holes.
These tools reduce unnecessary demolition during the inspection phase. Precision here keeps repair costs lower for the property owner.
What Happens After the Inspection Report
The inspection report becomes the foundation for everything that follows in the restoration timeline.
Restoration Plan Development
The restoration team builds a scope of work directly from the inspection findings, covering extraction, drying equipment placement, and material removal needs. Every category and class rating identified earlier feeds directly into this plan.
I walk property owners through the plan line by line before work begins. Transparency at this stage prevents confusion and surprise costs later.
Insurance Documentation Support
A detailed inspection report gives property owners the documentation their insurance company needs to process a claim efficiently. Photos, moisture readings, and cause-of-loss notes all support the claim narrative.
We help property owners organize this paperwork so nothing gets lost between the inspection and the claims adjuster’s review.
Insurance Claims and Inspection Documentation
Insurance claims move faster and more smoothly when inspection documentation is thorough from day one.
What Adjusters Look For
Adjusters look for clear evidence of the damage source, category classification, and a documented timeline showing when the loss occurred. Missing or vague documentation slows claims down or triggers disputes over coverage.
I make sure every report includes time-stamped photos and specific moisture readings tied to each affected area. That level of detail speaks directly to what adjusters are trained to evaluate.
How Detailed Reports Strengthen Claims
A report that connects the dots between cause, damage extent, and recommended scope of work gives adjusters less reason to question the claim. Vague reports invite pushback and delay payment.
We build our reports specifically with the claims process in mind, not just the restoration process. That distinction matters more than most property owners realize going in.
Conclusion
A thorough water damage inspection identifies the source, category, and true extent of moisture intrusion before restoration begins. It protects your property from hidden mold growth, structural weakening, and inflated repair costs down the line.
Residential and commercial properties both benefit from the same disciplined assessment approach, just scaled to different needs. The inspection stage sets the tone for everything that follows in your restoration journey.
We at Mr. Damage Rescue provide fast, certified water damage inspections backed by clear documentation and honest communication. Call us the moment you spot a warning sign, and let’s get your property back on track.
Frequently Asked Questions
How long does a water damage inspection take?
Most residential inspections take one to three hours depending on property size and damage extent. Commercial inspections often take longer due to larger square footage and additional zones to assess.
Can I do a water damage inspection myself?
You can spot obvious signs yourself, but hidden moisture behind walls or under flooring requires professional equipment to detect accurately. Missing hidden moisture leads to mold and structural problems later.
What does a water damage inspection cost?
Many restoration companies, including ours, offer free initial inspections tied to a restoration estimate. Standalone inspection fees vary based on property size and damage complexity.
Will my insurance cover a water damage inspection?
Most policies cover inspection costs when the damage stems from a covered event like a burst pipe or storm. Flood damage typically requires separate flood insurance coverage.
How soon after water damage should I schedule an inspection?
I recommend scheduling an inspection within 24 hours of discovering water damage. Mold risk increases significantly after the 48-hour mark, so speed matters here.
What’s the difference between a water damage inspection and a mold inspection?
A water damage inspection assesses moisture source, spread, and material damage, while a mold inspection specifically tests for and identifies mold species and colonization. Water damage inspections often include a preliminary mold risk check as part of the process.
Do I need a water damage inspection before filing an insurance claim?
Yes, most insurers require documented proof of damage extent and cause before approving a claim. A professional inspection report provides exactly that evidence.