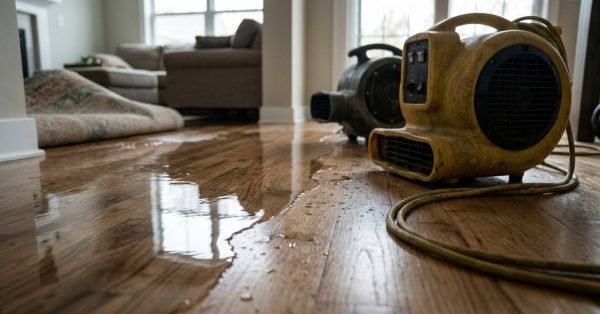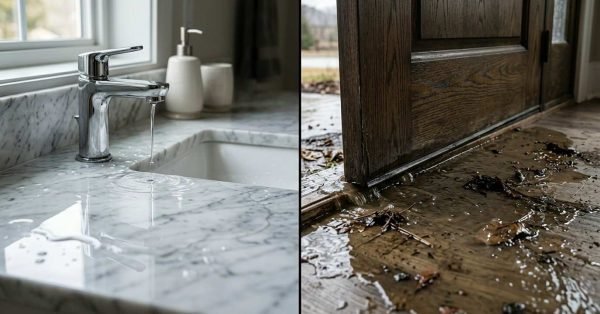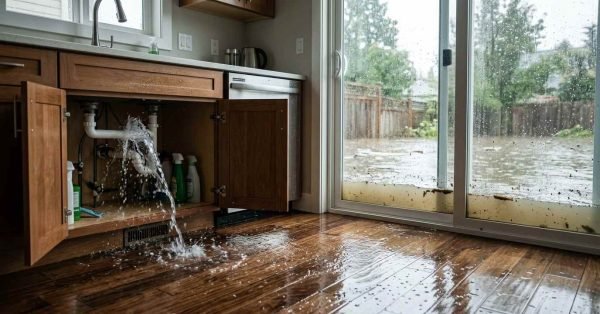
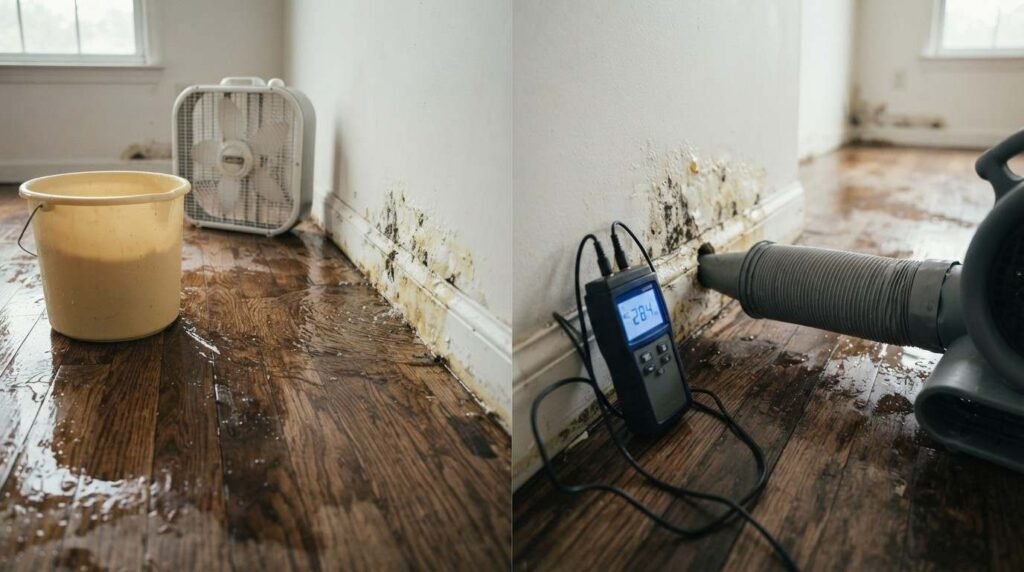
Water damage rarely waits for a convenient time, and the decision to handle it yourself or call in a professional shapes everything that happens next. I’ve walked into homes where a small DIY effort actually worked out fine, and I’ve walked into homes where that same effort turned a $2,000 problem into a $15,000 one.
The difference usually comes down to how much water was involved, how long it sat, and what it touched. A soaked rug is not the same emergency as a saturated subfloor.
Here I break down when DIY repair genuinely makes sense, the risks it carries, what professional restoration actually includes, and how the costs and timelines stack up. By the end, you’ll know exactly how to decide which path protects your property and your budget.
When DIY Water Damage Repair Actually Makes Sense
DIY water damage repair works for small, contained situations. A spilled water heater pan, a minor appliance leak caught within an hour, or a small window leak during a storm all fall into this category.
The common thread is scope. Water stayed in one small area, didn’t sit long, and didn’t reach porous structural materials like drywall or subflooring.
Minor, Contained Water Issues Suited to DIY
Small, visible water events with fast response times are the best DIY candidates. I’m talking about a spill you caught within 24 hours, on hard flooring, with no absorption into walls or carpet padding.
Countertop overflow from a sink, a dishwasher leak that stayed on tile, or a small roof drip caught in a bucket all qualify. The water never had time to wick into materials that hold moisture.
Tools and Materials DIY Repair Requires
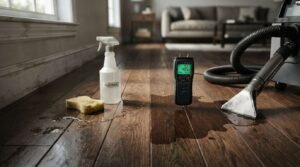
A basic DIY water damage response kit covers a wet/dry shop vacuum, box fans, a dehumidifier, and a moisture meter. Fans and dehumidifiers running together move air across wet surfaces and pull humidity out of the room at the same time.
Without a moisture meter, there’s no real way to confirm materials are actually dry. Surfaces look dry to the eye long before they’re dry all the way through, which is exactly where DIY efforts start to fail.
The Real Risks and Limitations of DIY Water Damage Repair
The visible water is rarely the whole story. Water travels along framing, under flooring, and inside wall cavities long after the surface looks fine, and that hidden moisture is where DIY repair runs into trouble.
I’ve seen homeowners dry the carpet, call it done, and find soft drywall three weeks later. The damage didn’t stop; it just went out of sight.
Hidden Moisture and Mold Growth Risks
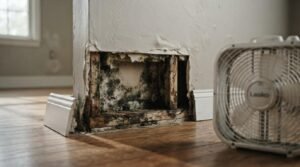
Mold is a health and structural issue that thrives in damp, unventilated spaces. The CDC notes that mold can begin growing within 24 to 48 hours on wet materials, which is a tighter window than most DIY drying timelines actually achieve.
Consumer dehumidifiers and box fans dry surface moisture. They rarely reach the moisture trapped inside wall cavities, under subflooring, or behind baseboards, which is exactly where hidden mold takes hold.
Structural and Electrical Safety Concerns
Water and electrical systems are a dangerous combination in a DIY setting. Standing water near outlets, wiring, or a breaker panel creates a shock and fire risk that most homeowners aren’t equipped to assess safely.
Saturated subflooring and framing lose structural strength over time, sometimes without obvious visual signs. Weight-bearing components need moisture testing, not a guess based on how a floor looks or feels.
What Professional Water Damage Restoration Includes
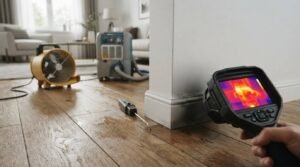
Professional restoration follows a defined, sequenced process built around commercial-grade equipment and trained technicians. Every stage exists to address a specific risk that DIY methods typically miss.
At Mr. Damage Rescue, we start with a full damage assessment before touching a single piece of equipment, because the extraction and drying plan depends entirely on what that assessment finds.
Assessment, Extraction, and Drying Equipment
Water extraction uses truck-mounted or portable extraction units that pull far more volume, far faster, than any wet/dry vac. Moisture mapping with infrared cameras and penetrating meters shows exactly where water traveled, including inside walls and under flooring.
Industrial air movers and desiccant dehumidifiers create controlled drying conditions calibrated to the structure itself. This is measured drying, not just running fans until things look dry.
Sanitization, Mold Prevention, and Repairs
Antimicrobial treatments address contamination risk on surfaces exposed to standing water. Damaged porous materials, such as soaked drywall, insulation, and subflooring, get removed rather than dried in place, since some materials simply can’t be fully restored once saturated.
Reconstruction and repairs close out the process, returning the space to pre-loss condition. This full sequence is what separates restoration from a basic cleanup.
Cost Comparison: DIY vs Professional Restoration
Upfront cost comparisons only tell part of the story here. The real cost difference shows up over the following weeks and months, not on day one.
DIY costs stay low initially: fans, a dehumidifier rental, and cleaning supplies. Professional restoration carries a higher upfront invoice but accounts for equipment, labor, and a completed job with documented results.
Upfront DIY Savings vs Long-Term Professional Value
A DIY approach might run $200 to $500 in equipment rental and materials for a small incident. That number looks appealing until hidden moisture surfaces later as mold remediation, subfloor replacement, or drywall repair costs that often exceed the original restoration estimate.
Professional restoration for a similar incident typically runs from $1,300 to $4,000, according to Forbes Home’s 2025 restoration cost breakdown, depending on square footage and material damage. That price includes verified drying, documented moisture readings, and a completed scope of work.
Insurance Considerations for Each Approach
Insurance claims typically require documentation: moisture readings, photos, and a professional assessment tying the damage to a covered event. DIY repair rarely produces this paper trail, which can complicate or reduce a claim payout.
Professional restoration companies routinely work directly with adjusters and provide the documentation insurers expect. That difference alone can determine whether a claim gets approved at full value.
Time, Effort, and Expertise Required for Each Approach
Time investment differs sharply between the two paths. DIY repair demands ongoing personal attention over days, while professional restoration runs on a scheduled, monitored timeline handled by a trained crew.
Expertise gaps show up fast once water has traveled beyond the visible surface. Reading a moisture meter correctly, knowing which materials to remove, and sequencing drying equipment properly all take training most homeowners don’t have.
DIY Time Investment and Learning Curve
A homeowner handling DIY repair spends hours monitoring fans, checking dampness by feel, and researching what to do next. Multiple days pass before there’s any confidence the space is actually dry.
There’s also a real learning curve around drying science itself. Air movement, humidity control, and temperature all interact, and getting the balance wrong extends drying time or leaves moisture behind.
Professional Speed and Certified Expertise
Certified technicians follow IICRC-based drying standards and typically stabilize a space within 24 to 48 hours of arrival. Equipment calibrated to the specific structure speeds up the entire process compared to consumer-grade tools.
Training also means faster identification of what needs to be removed versus dried, cutting down wasted effort and reducing the odds of missed hidden moisture.
How to Decide Between DIY and Professional Restoration
Deciding factors: How much water, how long it sat, what it touched, and what it’s contaminated with. A quick, honest assessment against these factors points toward the right decision fast.
Category and class of water damage matter too. Clean water from a supply line is a very different situation than contaminated water from a sewage backup or floodwater.
Key Questions to Assess Damage Severity
Ask how much square footage got wet, whether water reached flooring or wall cavities, and how many hours passed before cleanup started. Water sitting more than 24 to 48 hours crosses into territory where professional assessment becomes necessary regardless of visible severity.
Also consider water source. Clean water from a fixture is lower risk. Water from outside, a sewage line, or an unknown source carries contamination risk that DIY tools don’t address.
Warning Signs That Mean Call a Professional Now
Certain signs mean it’s time to stop and call in help. Standing water near electrical outlets or panels, sagging ceilings or walls, a musty smell that won’t clear, or water damage affecting more than one room all point to professional restoration.
At Mr. Damage Rescue, our team responds fast when any of these signs show up, because the gap between contained damage and a much bigger problem often comes down to hours, not days.
Conclusion
DIY water damage repair works for small, fast-caught incidents on hard surfaces with no hidden moisture risk. Anything beyond that scope carries real structural, health, and financial risk.
Professional restoration brings equipment, training, and documentation that protect both your property and your insurance claim. It costs more upfront but prevents the far larger costs hidden moisture creates later.
We’re ready to assess your situation and give you a straight answer about what your property actually needs. Reach out to Mr. Damage Rescue for a fast, no-pressure assessment today.
Frequently Asked Questions
Can I dry out water damage myself?
Yes, for small, contained incidents caught within 24 hours on hard flooring. Anything involving carpet, drywall, or standing water for longer periods needs professional assessment.
How long does professional water damage restoration take?
Most residential jobs stabilize within 24 to 48 hours and are fully complete within 3 to 5 days. Larger or contaminated water damage takes longer depending on the extent of material removal and repairs.
Is it cheaper to fix water damage myself?
DIY costs less upfront, often $200 to $500 in equipment. Hidden moisture missed by DIY methods frequently leads to mold remediation or structural repair costs that exceed a professional restoration estimate.
When should I call a professional instead of doing it myself?
Call a professional when water sat longer than 24 to 48 hours, touched more than one room, came from a contaminated source, or reached electrical systems. Any musty smell or visible sagging also means it’s time to call.
Does homeowners insurance cover water damage restoration?
Many policies cover sudden water damage from burst pipes or appliance failures, though coverage depends on cause and policy terms. Professional restoration documentation typically strengthens a claim compared to undocumented DIY repair.
What equipment does professional water damage restoration use?
Professionals use truck-mounted extraction units, infrared moisture detection cameras, industrial air movers, and desiccant dehumidifiers. This equipment reaches hidden moisture that consumer-grade tools typically miss.
Can mold grow even after I dry the area myself?
Yes. Mold can begin growing within 24 to 48 hours, and DIY drying often misses moisture trapped inside wall cavities or under flooring. A moisture meter check after drying helps confirm materials are actually dry throughout.